
Create a new directory in the trunk/samples directory with your sample name
The following files need to be created in your sample directory :
To display your sample in the GeoPrisma samples list you need to create a file named sample.php in your sample directory.
In this file add one php class with name sample_ + yoursample - The class name needs to be unique for all sample
Add this method
| getCat: | Returns your sample category 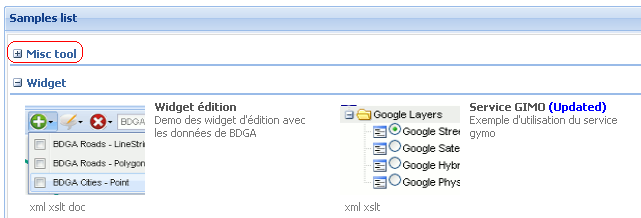
|
|---|---|
| getText: | Returns your sample name 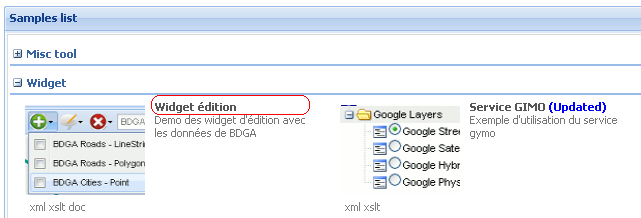
|
| getUrl: | Returns your sample start link, relative to the samples directory 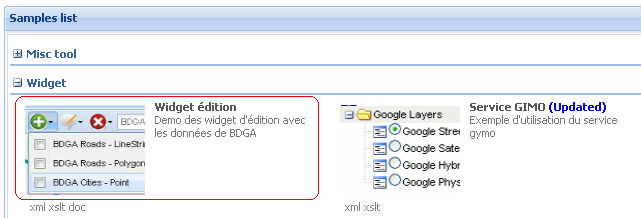
|
| getIcon: | Returns your sample image (116 x 90), relative to the samples directory |
| getDesc: | Returns your sample description 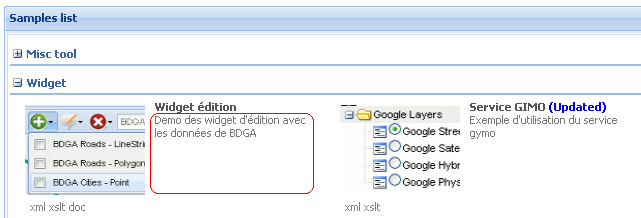
|
| getStatus: | Returns your sample status, acceptable values are :
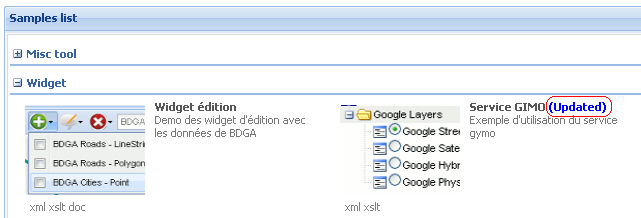
|
| getXML: | Your sample config file, relatif to the trunk (null is your sample have no config) 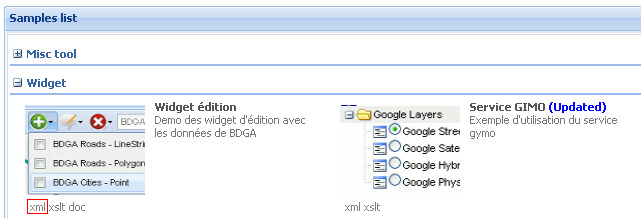
|
| getXSLT: | Your sample template file, relatif to the trunk (null is your sample have no template) 
|
| getDoc: | Your sample documentation, relatif to the trunk in sphink build doc (null is your sample have no doc) 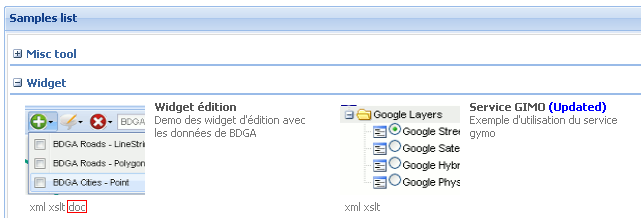
|
sample.php sample
<?php

class sample_yoursample
{
     // Category for your sample
     static public function getCat()
     {
        return 'Your sample widget cat';
     }

     // Name of your sample
     static public function getText()
     {
        return 'Your sample name';
     }

     // Url to start your sample, relative to the samples directory
     static public function getUrl()
     {
        return '/yoursample/index.php';
     }

     // Icon that represents your sample, relative to the samples directory
     static public function getIcon()
     {
        return '/yoursample/sample.gif';
     }

     // Short description of your sample
     static public function getDesc()
     {
        return "Your sample widget desc";
     }

     // Status of your sample (null | 'modified' | 'experimental' | 'new' | 'updated')
     static public function getStatus()
     {
        return 'new';
     }

     // Your sample config file, relative to trunk
     static public function getXML()
     {
        return "/samples/yoursample/config.xml";
     }

     // Your sample template file, relative to trunk
     static public function getXSLT()
     {
        return "/samples/yoursample/template.xslt";
     }

     // Your sample documentation, relative to trunk
     static public function getDoc()
     {
        return "/dist/build/html/samples/list/yoursample.html";
     }
}

?>
You can build documentation for your sample using Sphinx reStructuredText markup language
You only need to create a file with the name yoursample.rst - File names need to be unique in all samples rst file
yoursample.rst sample
============================
 Your sample
============================

Documentation on your sample ...